Welcome back to The Handcrafting Hideaway! Today, I am excited to share an idea that came to me a few days ago while at my day job. I couldn’t wait until after the kids were in bed, so I could try it out!
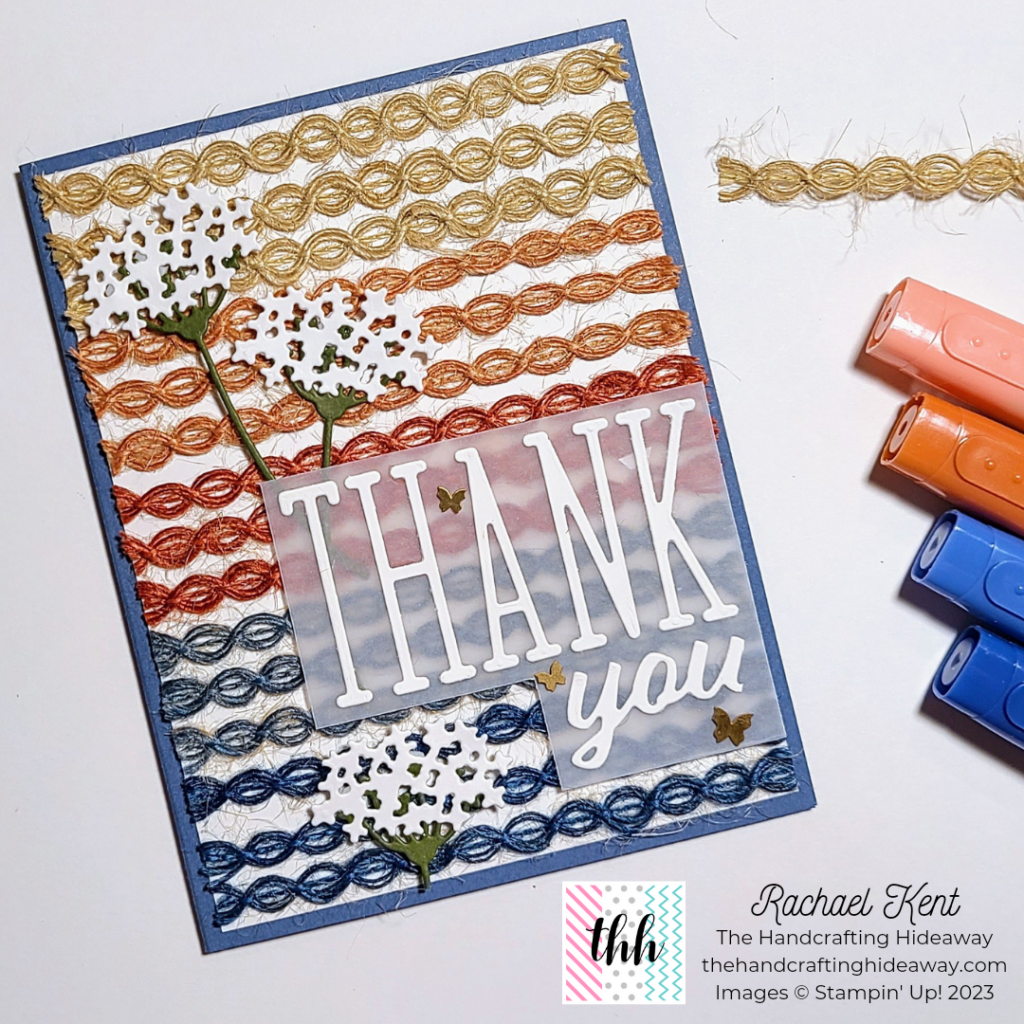
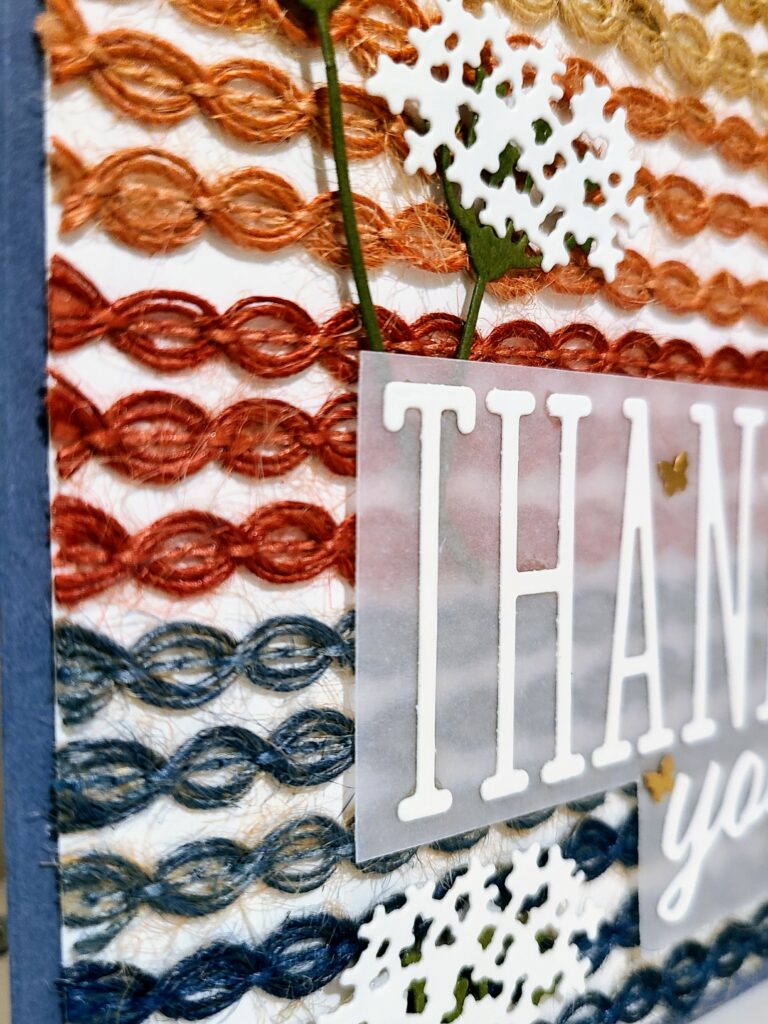
The Natural Wavy Trim is only offered in one color, but with the technique I’m showing today, you can make it into so many different colors.
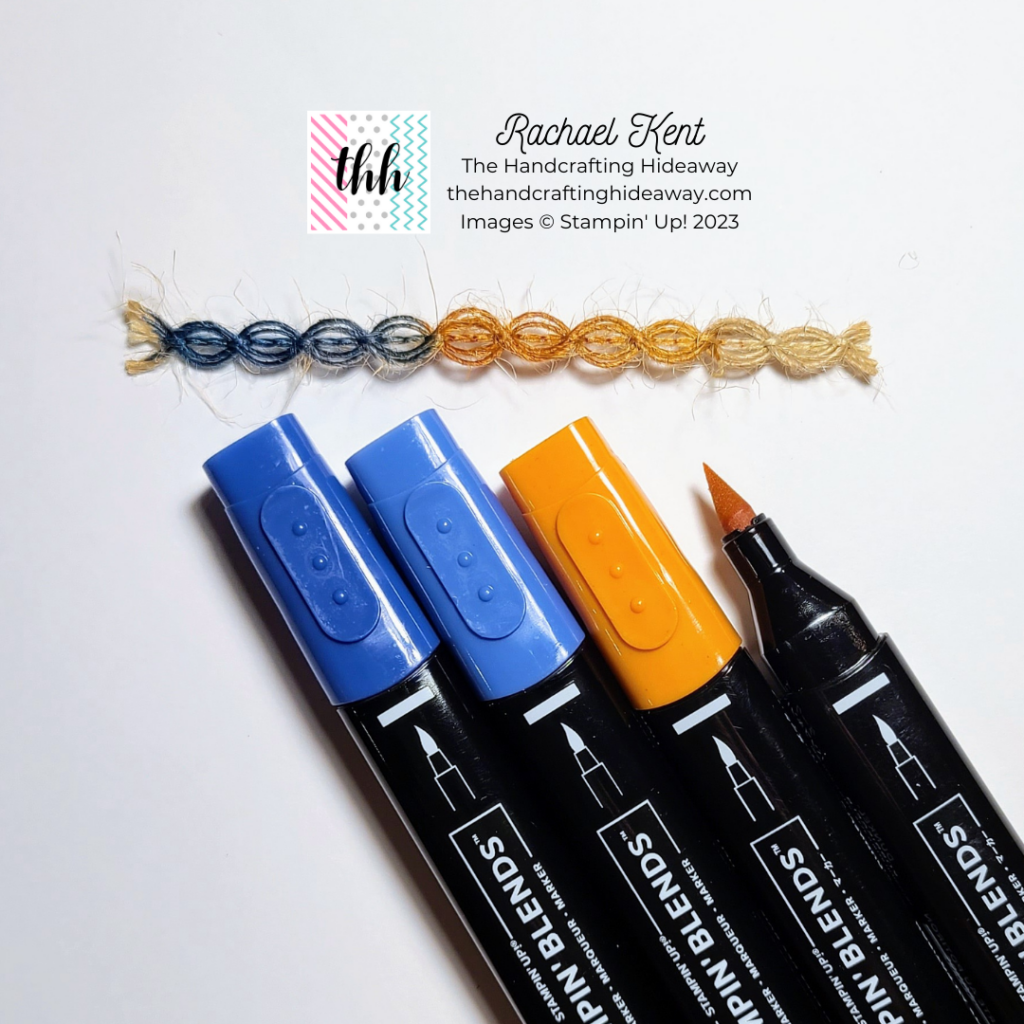
That’s right, it’s that simple. Break out your Stampin’ Blends markers and color to your hearts content! Note: The natural color of the trim will make the final color a slightly different color than the marker, but it gives it a very rustic vibe.

SUPPLIES
Dies:
- Alphabet À La Mode
- Dainty Delights
- Wanted to Say
Paper:
- Misty Moonlight: 8-1/2″x5-1/2″ card base, score and fold at 4-1/4″
- Basic White: 4″x5-1/4″, pieces big enough to die cut flowers and letters
- Mossy Meadow: small pieces to die cut flower stems
- Vellum: piece big enough to attach die cut letters
Inks:
- Blueberry Bushel Stampin’ Blends Combo Pack
- Calypso Coral Stampin’ Blends Combo Pack
Embellishments:
- Brushed Brass Butterflies
- Natural 1/4″ Wavy Trim (15 strips cut at 4-1/2″, trim after adhered to mat)
Tools:
- Bone Folder
- Grid Paper
- Paper Snips
- Paper Trimmer
- Stampin’ Cut and Emboss Machine
- Take Your Pick Tool
Adhesive:
- Fine-Tip Glue Pen
- Mini Glue Dots
- Mini Stampin’ Dimensionals
- Stampin’ Seal
Thank you so much for stopping by today! I hope you have tons of fun using this fabulous coloring technique! As always, make sure to live life creatively!
♥ Rachael Kent ♥
Product List


 Wavy Trim")


Want to get involved?
- Shop with Rachael
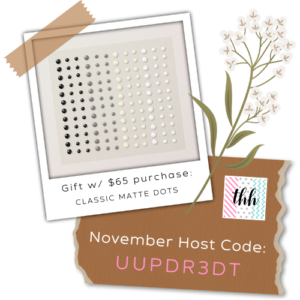
- November Host Code: UUPDR3DT
- November Host Code Gift: Classic Matte Dots (w/$65 order)
- Become a Paper Pumpkin Subscriber
- Join my Happy Handcrafters Team of Demonstrators