Welcome back to The Handcrafting Hideaway! Today, I bring you another blog hop from DO Stamping with the Stars (DOswts)!

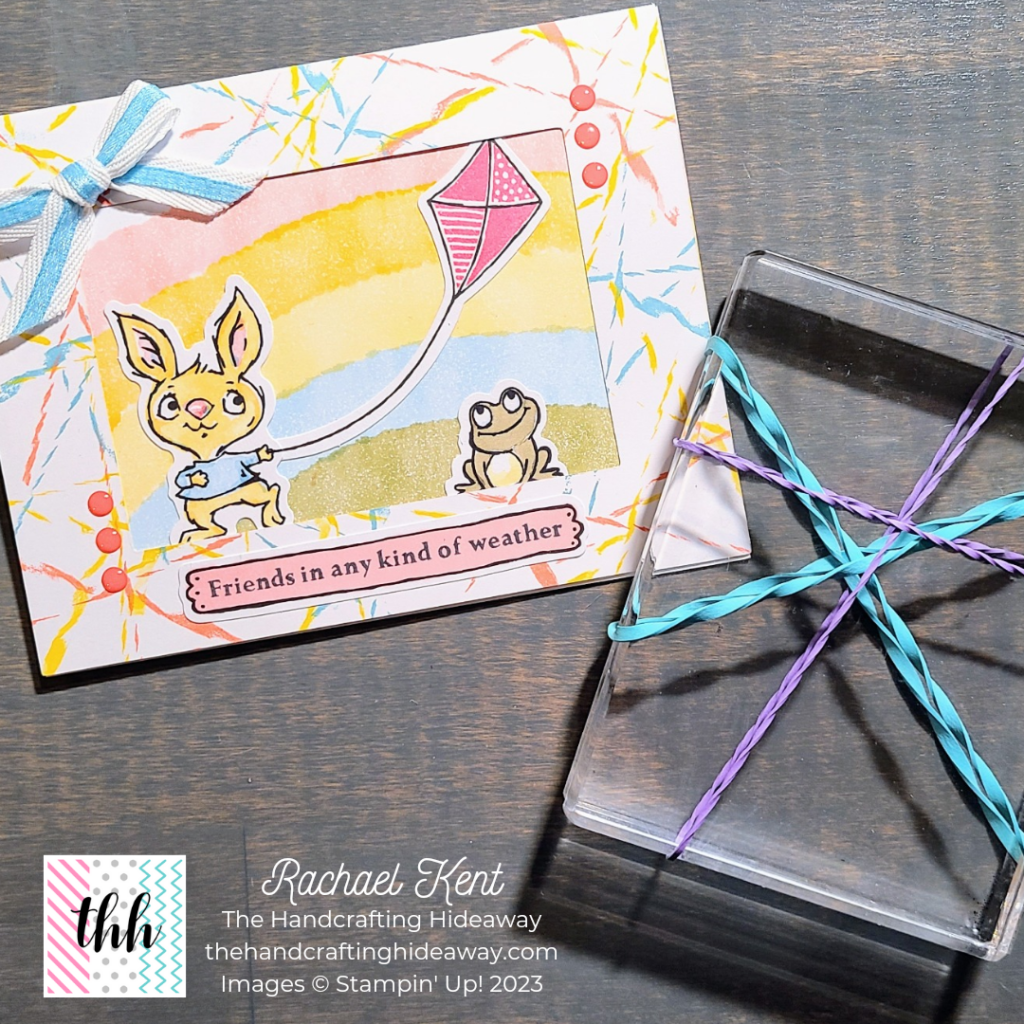
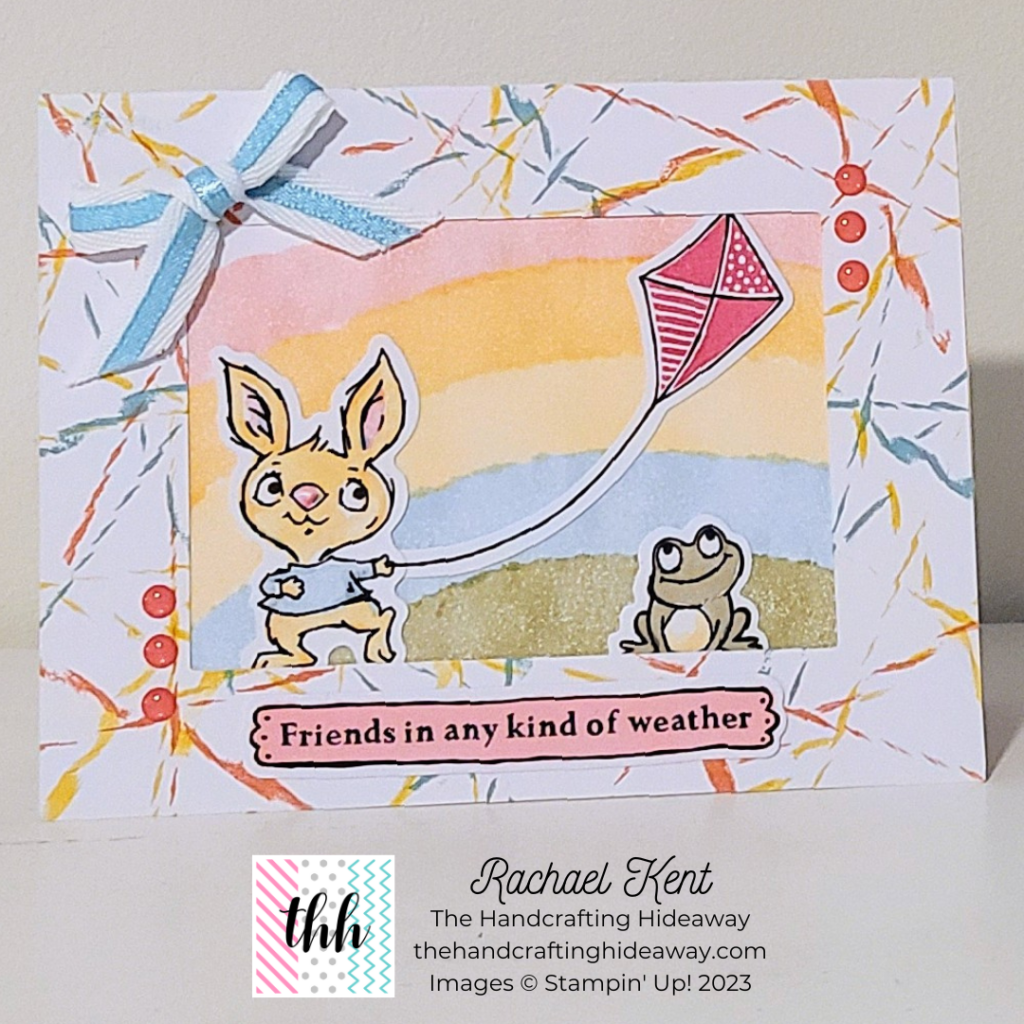
This time, we have a Rubberband Technique Inspiration Hop. This technique involves putting rubberbands around a clear stamping block, inking them up, and stamping them on a card to create a unique pattern.
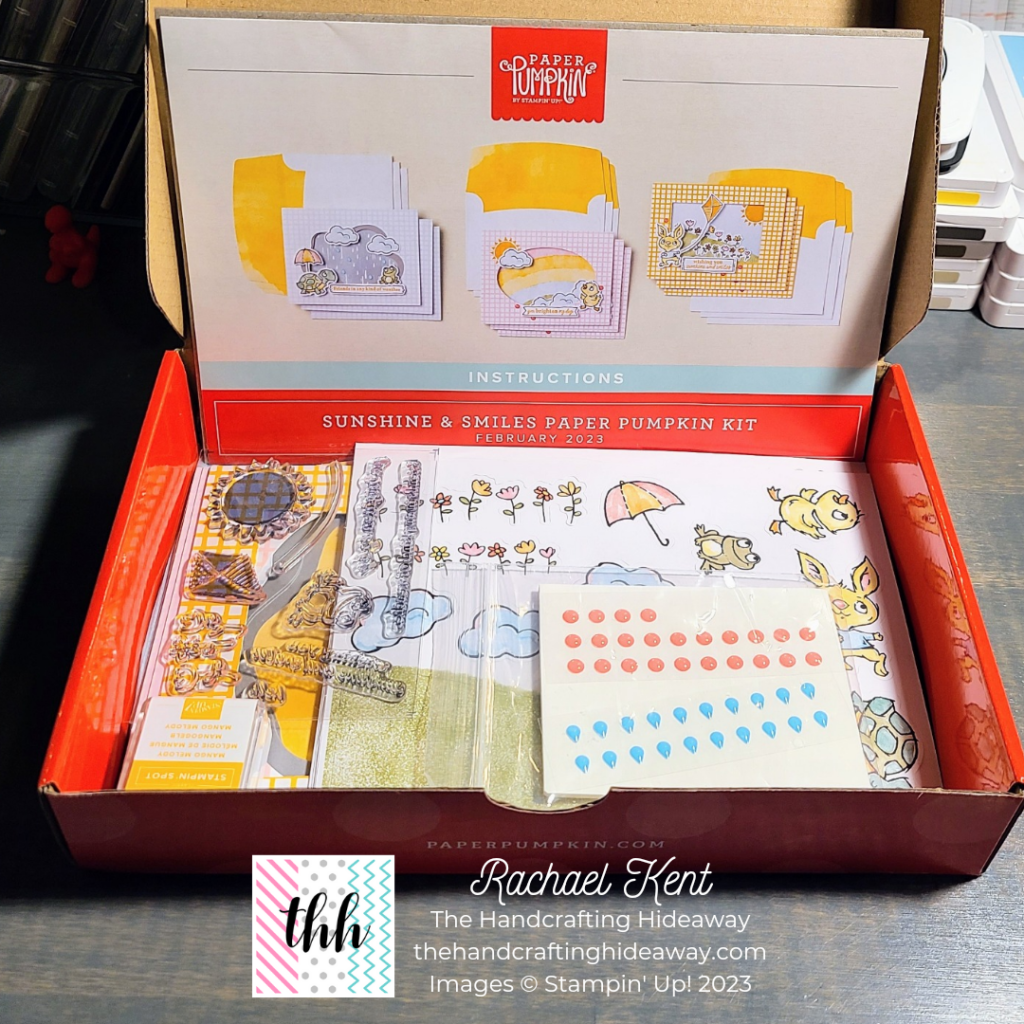
For this card, I decided to make an alternate card using the 2023 February Sunshine & Smiles Paper Pumpkin Kit. It is always so much fun coming up with my own unique cards using our fabulous Paper Pumpkin kits.
SUPPLIES
Paper:
Basic White: 4-1/4″ x 5-1/2″ (for inside the card)
From Paper Pumpkin Kit: Yellow gingham card base, rainbow paper from interior of pink gingham card base, bunny die cut, frog die cut, kite die cut, long label die cut, adhesive-backed gems
Ink: Balmy Blue Pad, Daffodil Delight Pad, Flirty Flamingo Pad, Tuxedo Black Memento Pad, Light Flirty Flamingo Blending Marker
Embellishments:
From Paper Pumpkin kit: adhesive-backed gems
Balmy Blue and White Ribbon
Tools:
Bone Folder
Paper Trimmer
Adhesive:
Stampin’ Seal
From Paper Pumpkin kit: Stampin’ Mini Glue Dots
INSTRUCTIONS
– Fold yellow gingham card base so the gingham print is inside the card.
– Cut the pink gingham card base in half along the crease line so you have the rainbow piece. Save the oval cutout half for future use on another card.
– Cut a piece of white cardstock at 5-1/2″x4-1/4″ and adhere inside the card to cover up the yellow gingham base.
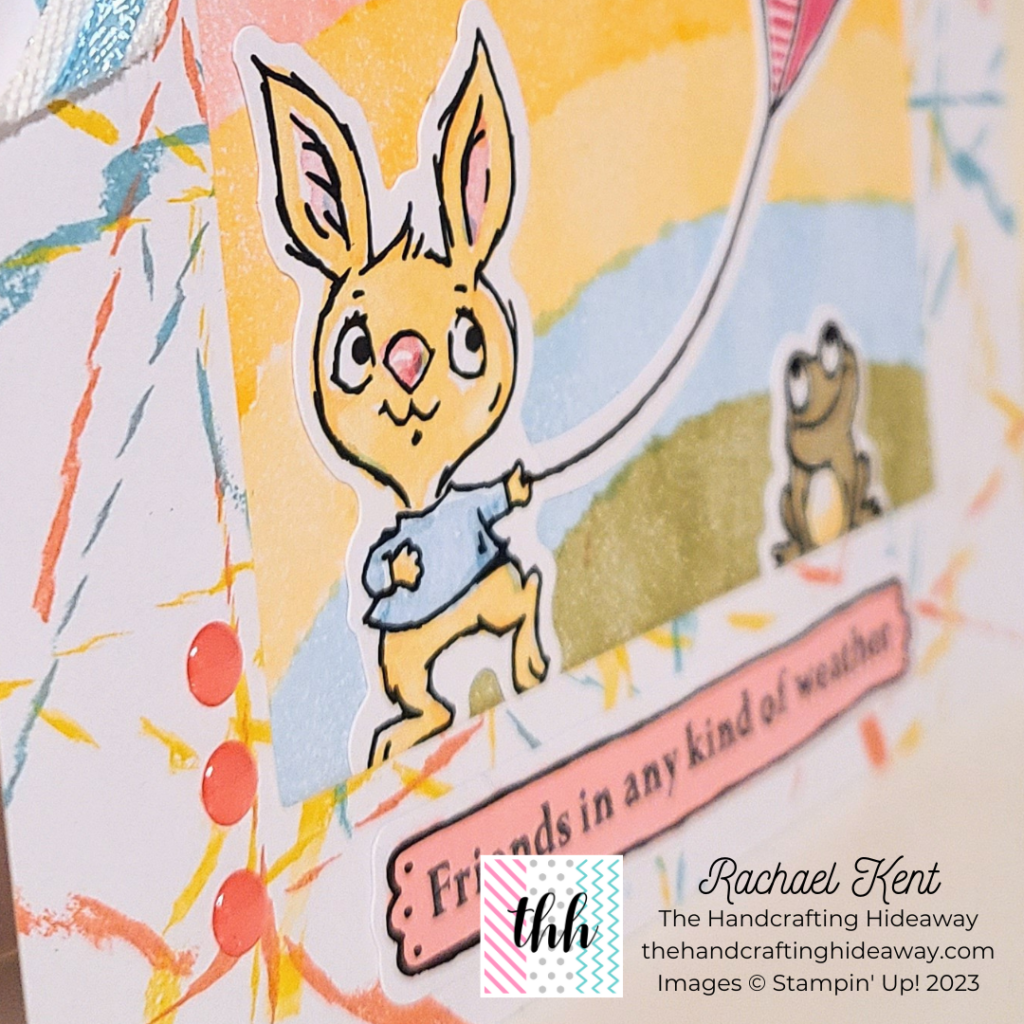
– Punch out a bunny, frog, kite, and label from the provided die cuts.
– Stamp the kite in Flirty Flamingo.
– Put 2 thin and 2 medium width rubberbands around a clear block and twist them.
– Put a piece of grid paper under the card base and inside the card, so you don’t get ink inside the card. Ink the rubberbands in Flirty Flamingo and stamp a few times around the frame. Re-ink each time and clean off the rubberbands before switching colors. Repeat this step in Balmy Blue and Daffodil Delight.
– Use Stampin’ Seal around the inside of the frame and adhere the rainbow piece of paper inside the frame with the rainbow image facing the front of the card.
– Adhere the bunny, frog, and kite on the rainbow paper inside the frame. I used a Basic Black Stampin’ Write Marker to draw a little line from the kite tail to the bunny’s hand to make it look like the bunny was holding the kite.
– Use the light Flirty Flamingo Blending Marker to color in the label.
– Stamp the sentiment in Tuxedo Black Memento Ink on the label and adhere label on the lower section of the frame.
– Attach gems and a ribbon as desired.
Thank you so much for stopping by today! As always, make sure to live life creatively!
♥ Rachael Kent ♥
Want to get involved?
- Shop with Rachael
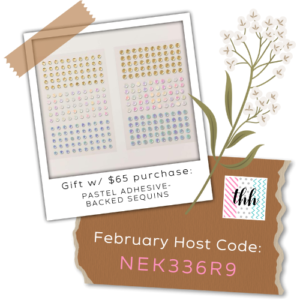
- February Host Code: NEK336R9
- February Host Code Gift: Pastel Adhesive-Backed Sequins (w/$65 order)
- Become a Paper Pumpkin Subscriber
- Join my Happy Handcrafters Team – $99 Starter Kit (You’ll get $125 worth of products for only $99!)
Product List